(This is a part 2 to my last campaign update post)
The KIT1 has arrived!
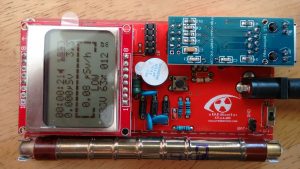
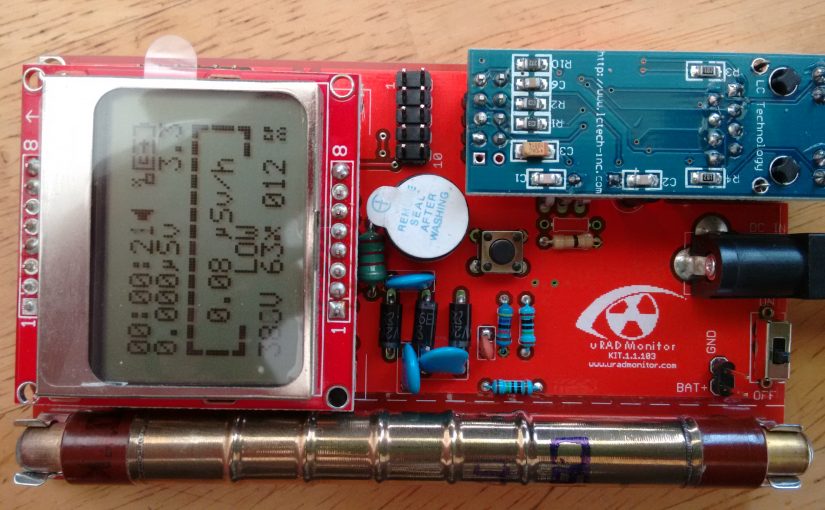
I could not help myself from soldering it immediately, and it worked! My new device is beeping along nicely, without any big trouble.
So what did I get? A small brown box, containing a lot of antistatic bags, and a manual. The manual is made in black on white, while there are some hints that it was printed on a full color printer. The links on page 9 are printed in blue 😛
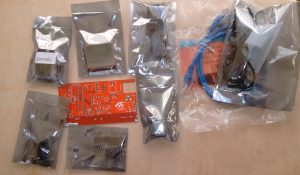
So on to the baggies: one containing the PCB, one with the SBM-20, one with a paper with most of the parts, one with the larger parts, one with the ATMega, the usbASP(v2 as per the manual), the screen, network breakout, and the two bags with the network card, and the usb power cable with a really small transformer, probably for USA use.
Soldering the parts was relatively easy, the only issues were due to my inexperience in soldering.
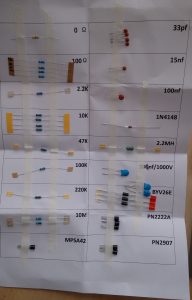
The silkscreen does not mention the parts, so at first I started writing a map of where parts are supposed to come, and what parts on the paper would get what designation. Strangely the PN2907’s weren’t mentioned on the list (p5), but they were the only ones, so I could fill in the blanks 🙂
From there on I continued soldering the parts according to height, so I would do the flattest ones first. Working my way up, I anticipated not that much trouble, but noticed again how much harder through hole soldering is than surface mount, especially for beginners, thanks to the course I did with Kliment. Thanks again for the course!
In the end there was just one stupid mistake in re-seating the screen upside down before switching it on for the first time, but luckily it did not break. As I saw my mistake immediately, all went perfectly from then on.
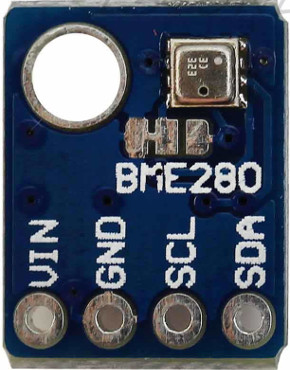
The BME280 is already setup, but there are some additions needed for it in the firmware. Radu told me he will add them himself, so when he adds them to the GitHub repo, the device can be reflashed and use the information from the added sensors. For this I will also need a file from Radu, to make sure my login to the central database stays secure. I am still using the device offline, as it will move a lot in the beginning, and it is not even close to its final destination. It would be very nice if I could connect the device to my own network only first, to not clutter the DB. For now I have no logging, and can only see the info on the device itself. I will investigate further. I have an Sparkfun OpenLog lying around, maybe that could do the trick for now, and maybe I could even add a GPS that way to make it fully mobile.
In other news, the BME680 did finally arrive. Thank you Bosch! Production on the model D will be able to continue as soon as the parts arrive at the factory.
Also a new fixed/mounted outdoor measurement device is announced, the model A3. This seems to be a model incorporating the same improvements as seen in the model D, but I have to look into it more closely to see what changed.
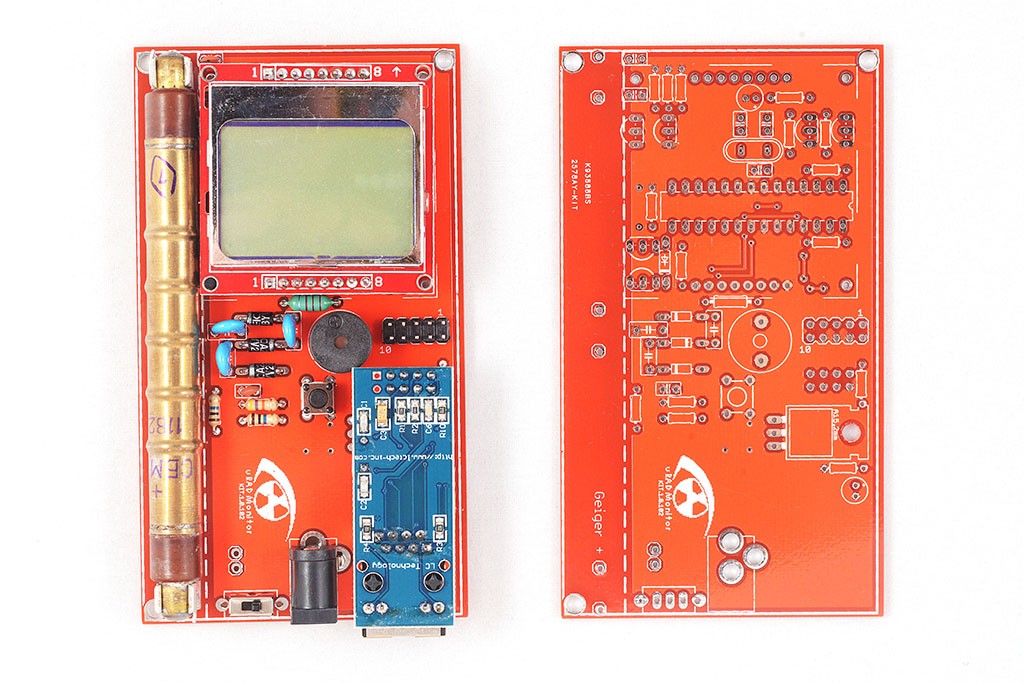
I just got a mail from Radu asking me to show pictures of my soldering. No winning entry from me, I dislike some joints, but here is the result 🙂
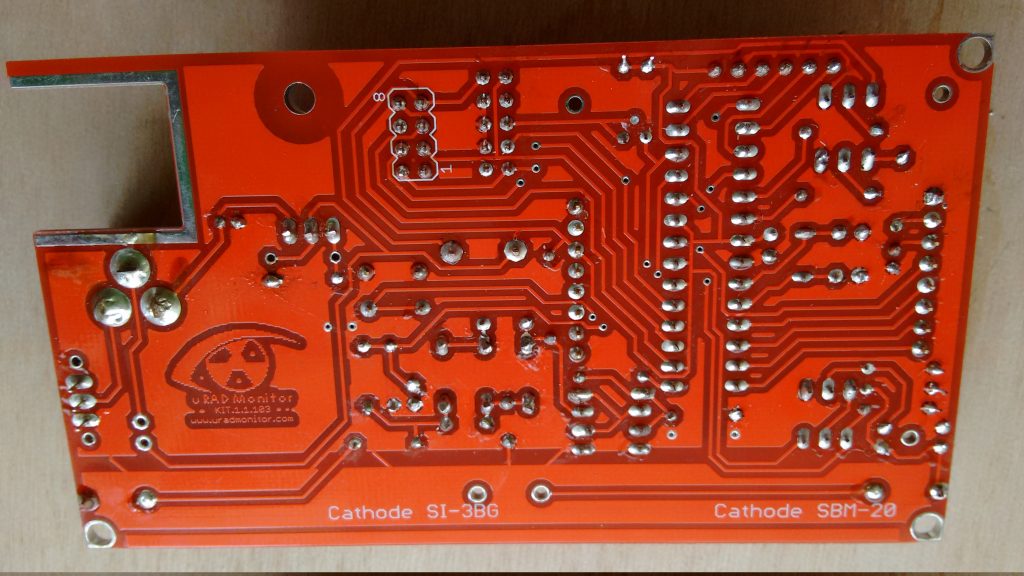
I will try to touch it up soon, and remove the flux, but it seems 18y whiskey is not strong enough to dissolve it. It can go back to dissolving my mind though 😛 I will try to find my isopropyl alcohol for better results.
I have more pics, and more information from the project to talk about, but the weather is too nice to fill my day with typing, so now it is onto the next task, potting plants 🙂 I will tell about my experiences with the KIT1 some more in a next installment. For now I am very happy with the kit, and will try to make an enclosure soon.
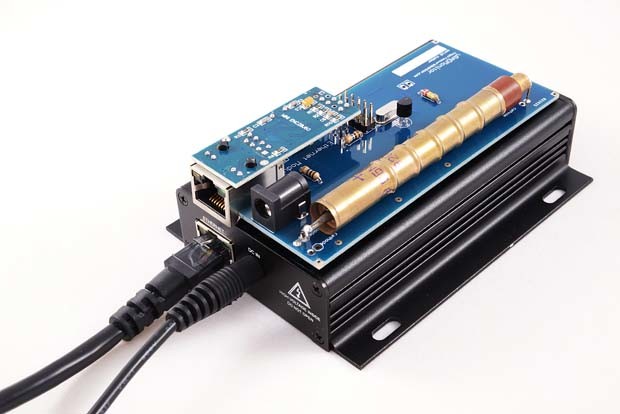 This was the known-and-tested option, so they were on hand, and were sent out in January as anticipated. The new production brought some upgrades to model A as well, including an extension port for UART, I2C and speaker as well as firmware improvements (HW version 109 and FW version 116).
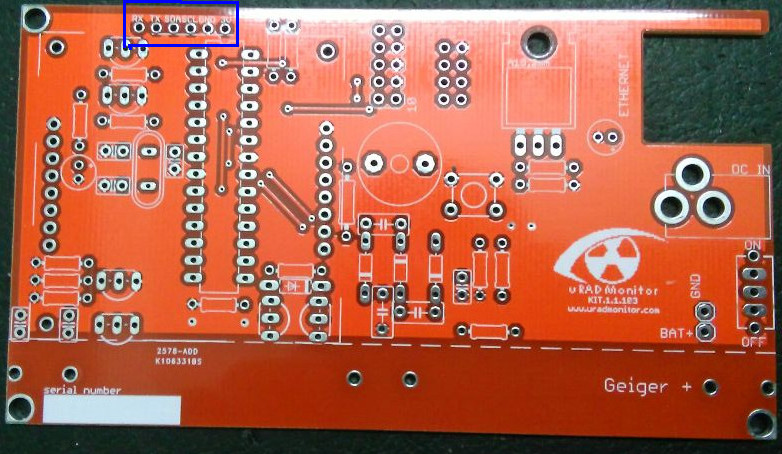
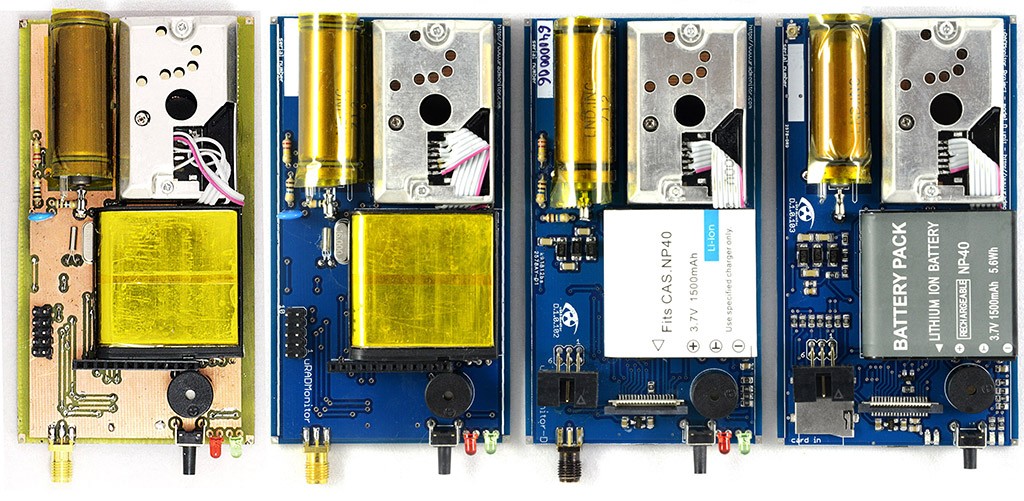
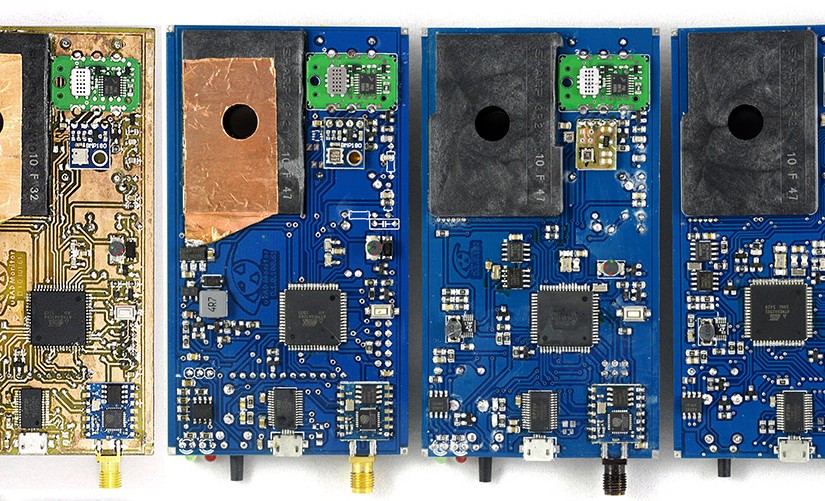
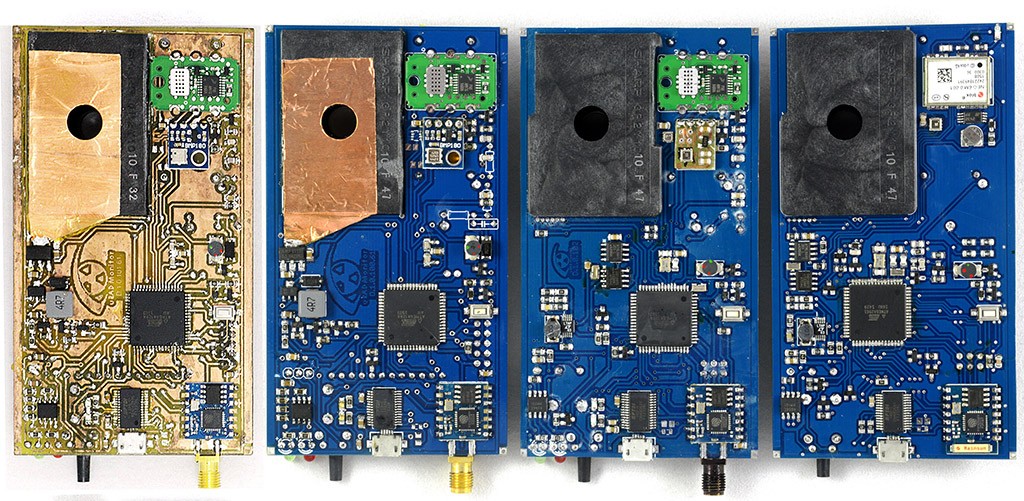 This device cost a lot of extra work, as it is a new product, and a lot of changes had to be made to make room for the stretch goals. Adding the internal antenna, GPS and SD card support added a lot of complexity to the hardware design and the firmware. This even made it necessary for an upgrade in the controller, twice. It started out with the ATMega128 in the models for the Hackaday Prize 2015, and now the ATMega 2561 is included to make room for all the hardware and firmware additions and improvements. This is also where a lot of ongoing work is done at this time, finalizing the firmware code, including the user interface. There was a total of 4 PCB iterations on making this product, as you can see in the pictures.